Showing posts with label baking. Show all posts

Saturday, 29 August 2015

Nutella Chocolate Cupcakes

IMG_0001
IMG_0005
IMG_0002
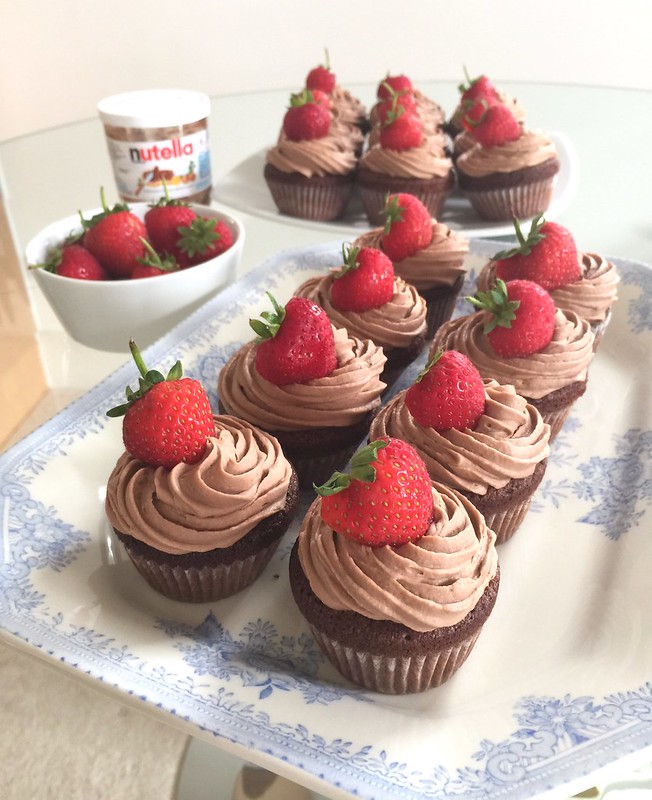
The other weekend it was my lovely friend Claire's Hen Do in Brighton so of course I wanted to bake some delicious treats for the bride-to-be and the fellow hens to enjoy over the few days when we weren't playing the 10p machines on the pier or dancing the night away. So what do you make for a girl who love Nutella enough to bathe in the stuff...why, Nutella chocolate cupcakes of course.

I googled a few recipes and found some inspiration along the way but decided to modify a few of the recipes to suit the ingredients I had and I was pretty pleased with how they turned out. I posted a few snaps on my instagram (@pinkpixiedoll) and got you all salivating over these chocolate-y creations and left you asking me to share the recipe so here you go! If you've got the bug for baking since the return of Great British Bake Off (I know I have) then maybe you could whip some up this Bank Holiday Weekend?

For the chocolate cupcakes (makes around 12)
6oz soft butter
6 oz caster sugar
3 free range eggs
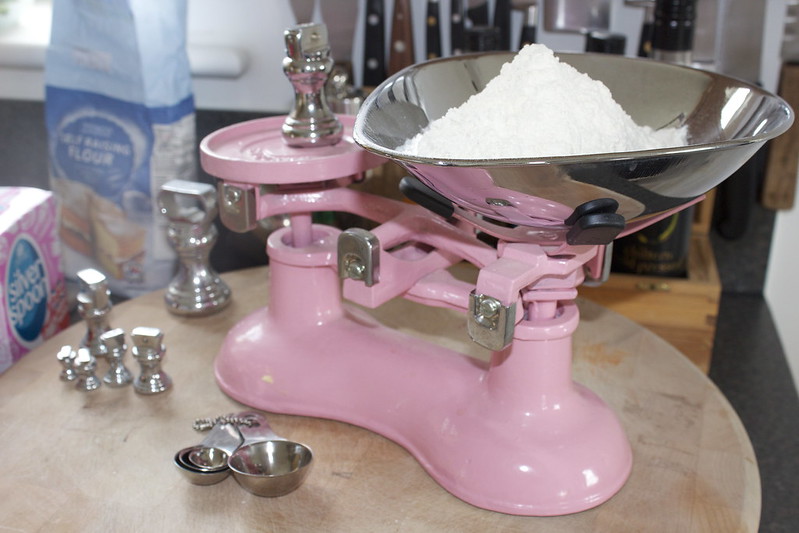
8oz self raising flour
3 tbsp of cocoa powder
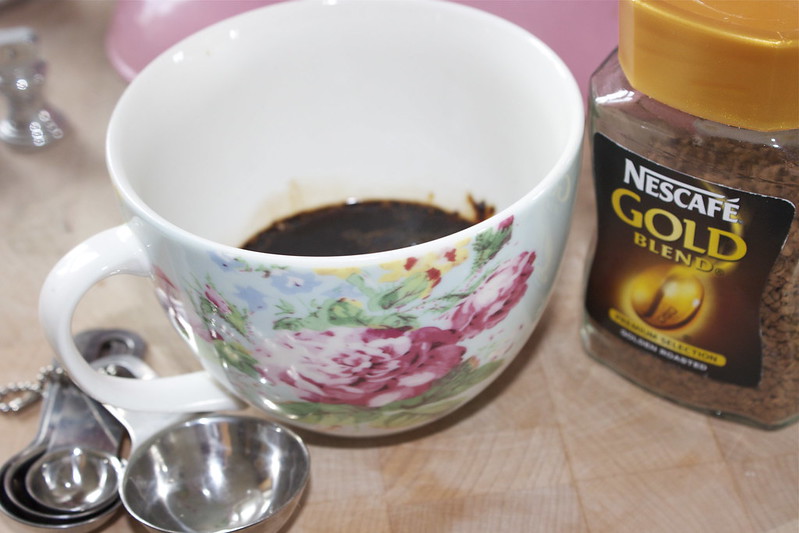
1 tbsp of Nutella

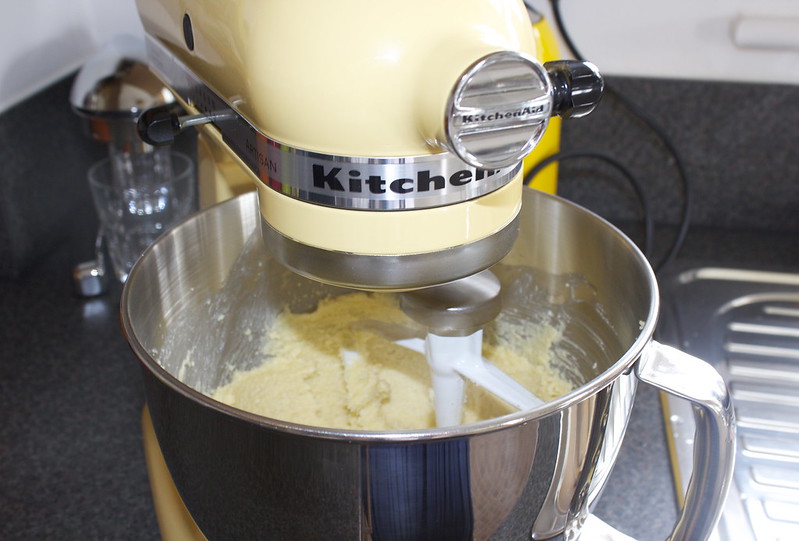
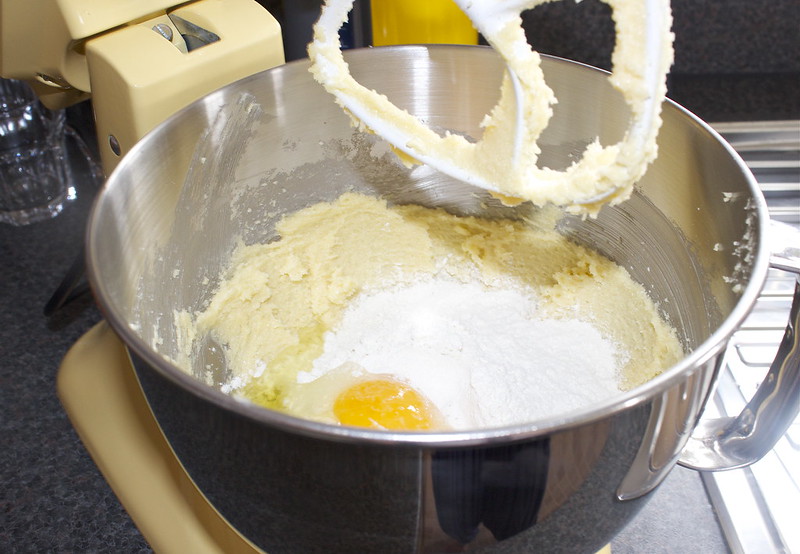
Whizz up the butter and sugar together until the mixture is soft and combined. Add the eggs and half the flour and whizz. Add in the rest of the flour, cocoa powder and Nutella and mix until the mixture is smooth. If it feels too stiff then add a splash of milk.

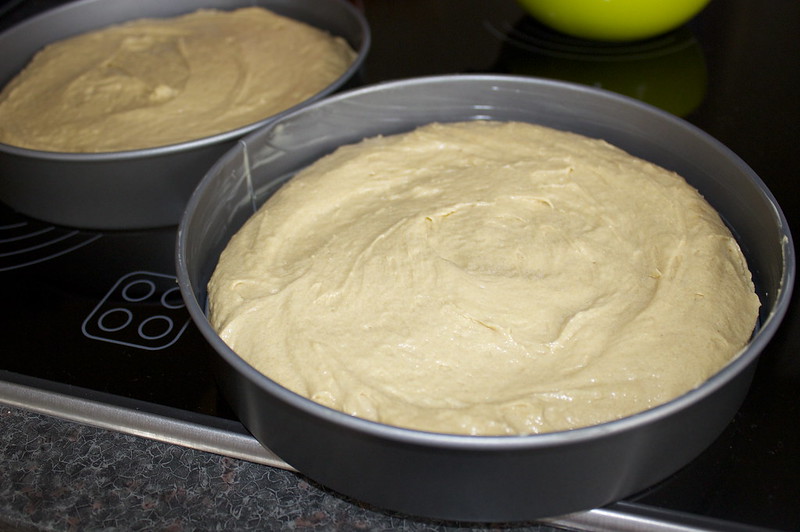
Spoon until cupcake cases and bake in the oven at 180 degrees celsius for 20-25 minutes but keep an eye on them. Once you think they're done then bring them out and spear one of the cakes with a sharp knife to check the mixture is cooked all the way through. Leave to cool on a cooling rack.

For the Nutella buttercream
8oz of soft butter
8oz of icing sugar
2 tbsp of cocoa powder
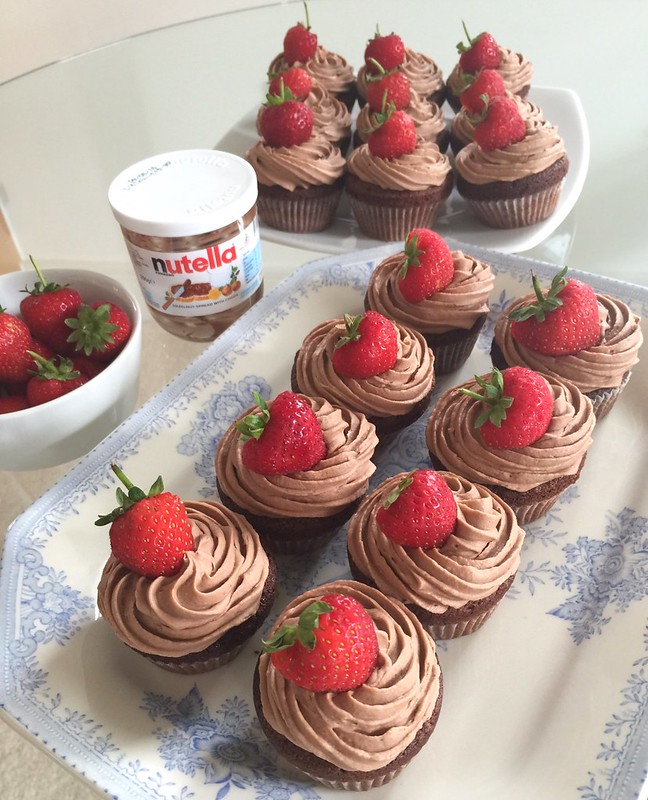
The rest of a 200g jar of Nutella

Make sure your butter is super soft and then gently whizz in the icing sugar bit by bit until it is all combined. Then add the cocoa and Nutella and continue to mix until the buttercream feels soft and 'pipe-able'. Again, add a splash of milk if necessary.

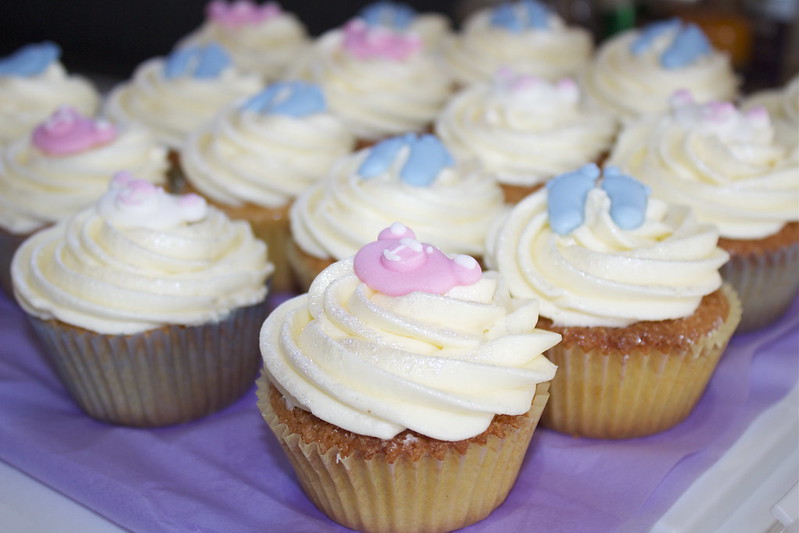
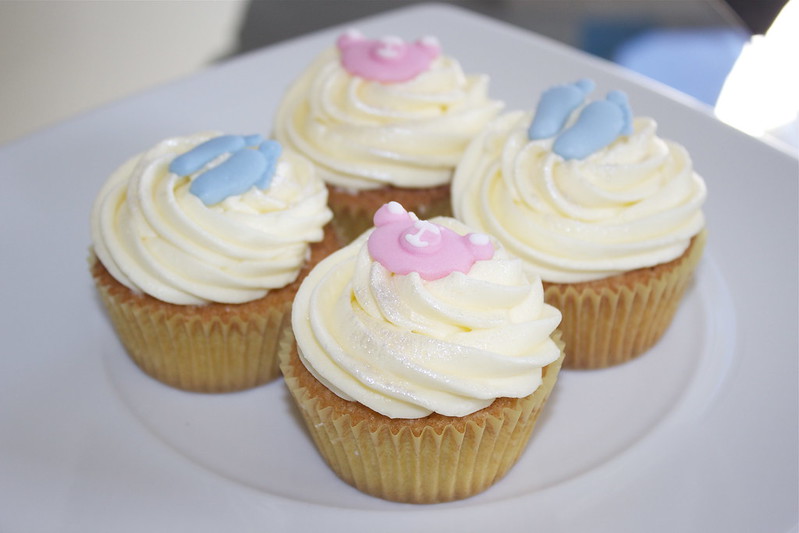
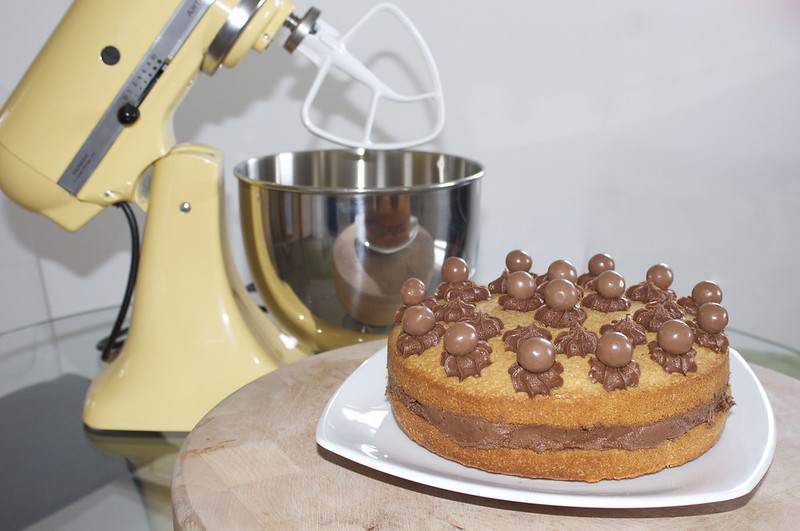
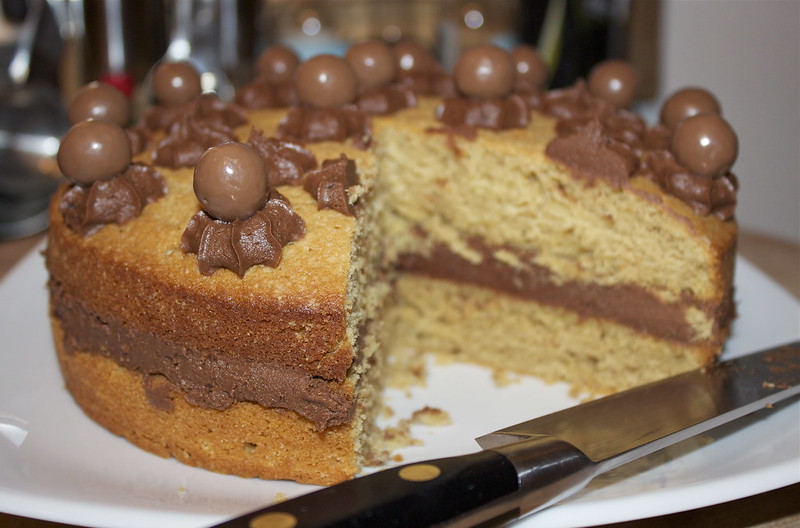
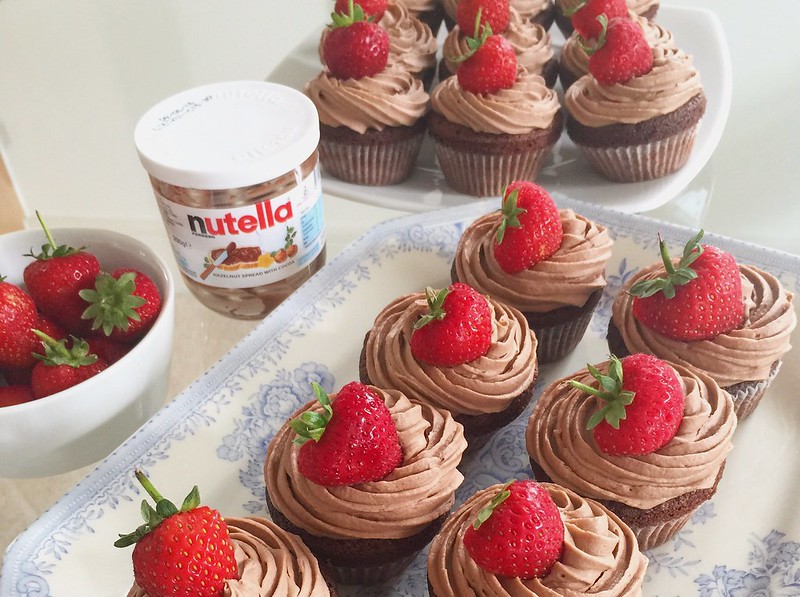
Once the cupcakes are completely cooled you are ready to pipe. I used a star-shaped nozzle to create my swirls on top - if you are unsure on the best technique to create nice neat frosting on your cupcakes then YouTube has a tonne of 'how-to' videos.

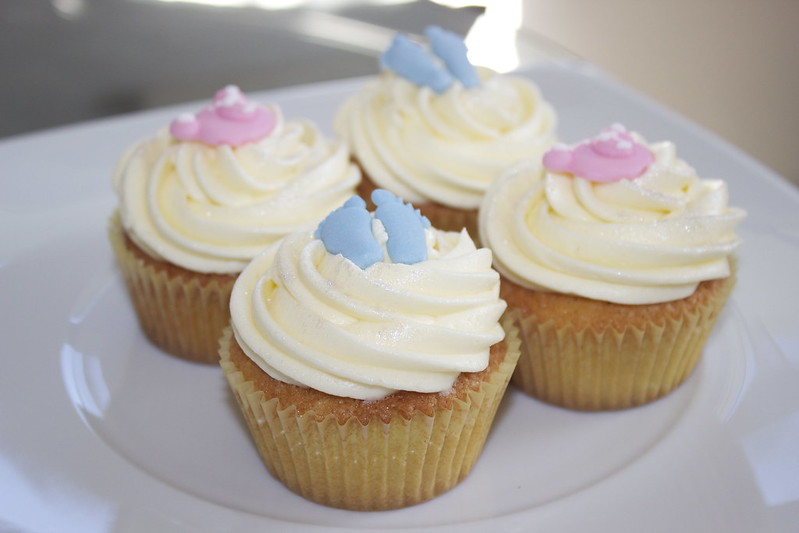
Finish with half a strawberry and keep cool until you are ready to indulge! :) Do let me know and tag me in a photo if you do give these cakes a whirl this weekend!
View Post

Saturday, 18 April 2015

Smarties Chocolate Cake

IMG_0003
IMG_0006
IMG_0004
Whenever it was mine or my brothers' birthdays, when we were little, my Mum would always bake us a celebratory Smarties cake. It is one of those fond memories I have from my childhood and I always remember thinking how absolutely spectacular it looked as my Mum brought it out, topped with candles as everyone around us sang Happy Birthday. All those colourful button-like chocolates lined up neatly, the cocoa-rich buttercream oozing out the sides - it is an impressive sight when you are only six, seven, eight years old.

Last weekend we had a belated Easter-family gathering and knowing there would be a heavily-ladened buffet on offer with lots of savoury goods laid out I wanted to bring something sweet along for dessert, something for the children to coo over and for the adults to secretly indulge in with their cups of tea up whilst the children were busy hunting eggs! I have baked for years (having learnt everything I know from helping my Mum in the kitchen when I was a little girl) so I kind of just made this cake up as I went along! Therefore I was over the moon it turned out so well and was met with a lip-licking reception at the family party. So if you have a birthday, special occasion or party on the horizon or simply have a hankering for an indulgent chocolate-y treat then see below my recipe and step-by-step guide to recreating this colourful cake.

Recipe:
For each sponge layer (I chose to do three but you can do more or less - just double/triple the recipe accordingly)
4 oz soft butter
4oz caster sugar
2 free range eggs
4oz self-raising flour
1 tsp baking powder
(I made the middle layer of my cake as a chocolate sponge - for this repeat the recipe but add a heaped tbsp of good quality cocoa and a splash of milk if necessary.)

For the buttercream
8oz soft butter
16oz icing sugar
Heaped tbsp of cocoa
1 tsp of vanilla extract
Milk to loosen as necessary

To bake the cakes:
1. Start by putting your oven on 180C and grease/line your sandwich tins.
2. Beat the butter and sugar together well until it makes a soft mixture.
3. Add the eggs and half the flour. Mix again together until all combined and then add the rest of the flour and baking powder (and cocoa if necessary). Keep mixing together until you have a smooth, soft batter.
4. Spoon the mixture into the sandwich tins and smooth out with a spatula.
5. Pop in the oven for 20-25 minutes. Check on the cakes after 20 minutes - spear the middle with a sharp knife. If it comes out clean and the sponge springs back when pressed, the cakes are done!
6. Turn out on a cooling rack and wait until completely cooled before sandwiching with the buttercream.

And for the buttercream: 
1. Make sure the butter is nice and soft before adding a third of the icing sugar to it. Slowly mix the sugar and butter together until it is all combined and then repeat with the next two thirds of the icing sugar until you have a smooth, rich paste.
2. Add the cocoa and a teaspoon of vanilla extract and continue to combine. If the buttercream feels too stiff then add some milk to loosen it up. A splash of hot water will also help give it that glossy finish.
3. Layer all over your sponges, start building your cake and go crazy with the Smarties. (FYI - I needed 8 tubes to decorate this entire cake!)

And there we have it. A rather simple but show-stopping sweet treat, perfect for any party! If you decide to bake my Smarties cake then please do send me a picture on my twitter or instagram (@pinkpixiedoll) - I would love to see your creations. :)
View Post

Monday, 21 January 2013

Nivea Stress Protect Challenge #1 - Baking

IMG_2887
IMG_2766
IMG_2774

Deodorant and cake? Cake and deodorant? Yes I would struggle to find a connection too but just bear with me and all will be revealed! I have been asked to take part in the Nivea Stress Protect challenge which will see me being placed in seemingly 'stressful' situations to see how their new anti-perspirant fares against that unwelcome stress sweating. Technically speaking, sweat caused by stress is very different to that prompted by heat or physical exercise. Its onset is more rapid and is generally a lot harder to control. This is why Nivea has developed a specially-formulated range that helps provide protection during those stressful moments, with zinc complex to help keep the sweat at bay and added avocado oil to care for and moisturise the underarm skin.

So where does the cake come in? Well, what is it they say - "if you can't stand the heat, get out of the kitchen." I had no choice but get in the kitchen, crank up the oven (and those stress levels) and attempt to recreate one of Holly Bell's (of Great British Bake Off fame) challenging recipes involving several formidable stages including a genoise sponge, a lemon syrup and a macadamia praline topping. It all seemed pretty achievable, particularly as I can often be found in the kitchen baking on a snowy Sunday, but it would involve some meticulous planning. The first challenge was the sponge which I think I conquer admirably - everything is made easier when you have a KitchenAid. The lemon syrup was, well, easy peasy and the macadamia praline was a sweet success! Any stress-induced sweating was dealt with brilliantly by the anti-perspirant and I felt as fresh as a daisy following my baking challenge, even if my kitchen was looking less than fresh coated in a shower of icing sugar and broken eggshells.

Bring on the next challenge!


sponsored post
View Post

Sunday, 13 January 2013

Custard & White Chocolate cookies

IMG_2191
IMG_2186

Lazy Sunday afternoons always offer a small window in my otherwise hectic week for one of my favourite pastimes, a spot of baking. I found these custard and white chocolate cookies whilst drooling over the BBC Good Food website and decided that they would be the perfect treat for my work friends this week, after Rob and I gave them the taste-test of course! And here's how you make them...

Recipe:
140g soft butter
175g caster sugar
1 egg
1/2 tsp vanilla extract
225g self raising flour
85g custard powder
85g white chocolate, chopped into small chunks

Makes 25 modest cookies, or 15 man-sized cookies!

In a bowl or a food processor, combine the butter and sugar until soft and fluffy. Add in the egg and vanilla extract and mix again. Sift together the flour and custard powder, add to the mixture and pulse until a ball of dough is formed. Add in the chunks of chocolate and whizz one more time before scraping the dough out of the mixer. Take small sections of the dough, roll them into a ball and place onto a baking tray lined with baking parchment leaving a good distance between each cookie for them to spread. Bake for 15-20 minutes until lightly golden. Pour yourself a glass of milk and enjoy!

Warning: You won't be able to just have one! 

View Post

Friday, 12 October 2012

new baby cupcakes

new baby cupcakes
new baby cupcakes
new baby cupcakes

My little sideline cake making enterprise has been neglected somewhat recently, mainly because I have been so busy with many other creative outlets in my life. But when someone at work asked if I could bake some new baby cupcakes for a heavily-pregnant colleague of theirs - I jumped at the chance. (Any excuse to use my new kitchen aid!) With the sex of the baby unknown, I opted for an assortment of girl and boy themed cakes, swirled with vanilla buttercream, delicately sprinkled with edible glitter and crowned with some adorable blue and pink toppers. Now I wish I could take the credit for these sweet feet and teddy bear toppers but with time pressing, I had to call upon my local market who had an abundance of different cake toppers to choose from.

To make the cakes I used the following simple recipe which will give you about 12 individual cupcakes with just enough left to lick the bowl with!
6oz caster sugar, 6oz butter (whizz) 3 eggs, 8oz self-raising flour, capful of vanilla extract (whizz). Divide equally into your cupcake cases and place in a pre-heated over at 180 degrees C for 15-20 minutes.

Making the buttercream couldn't be easier. Simply whisk together 8oz softened butter with 16oz icing sugar, adding a splash of milk if necessary to loosen the mixture. At this stage you could also add a dribble of food colouring to your buttercream if you wanted to make your creations beautifully colourful. Piping the perfect swirl is a fine art that requires practice, patience and a steady hand but once you've got the knack, there will be no stopping you! If you refer to my post here, I talk in details about all the apparatus and techniques I use to make my simple cupcakes which will hopefully help you if you are getting your bake on this weekend!

Happy (food) Friday - I hope you all have super weekends.

View Post

Tuesday, 18 September 2012

coffee mocha cake

IMG_0246
IMG_0252
IMG_0262
IMG_0264
IMG_0259IMG_0272

My Easy Peasy Coffee Mocha Cake

It has been so so long since I last did a baking post here on my blog, but since the arrival of my beautiful new Kitchen Aid and the return of The Great British Bake Off, I have been aching to share some of my culinary creations with you. Today I am going to run through how to bake a very easy, yet very pleasing, coffee mocha cake, which is insanely delicious and perfect for an afternoon treat.

Firstly grease and line your two baking tins and pre-heat your oven to 160 degrees Celsius. My round tins are approximately 8 inches in diameter which makes the cake an ideal size when sandwiched together.

Ingredients:
for the cake...
8oz caster sugar
8oz soft butter
4 medium free-range eggs
9oz self-raising flour
Capful of vanilla essence
2-3 tablespoons ground coffee (depending how strong you like your coffee cake!)

for the buttercream...
6oz butter
10oz icing sugar
2oz cocoa powder

1. Combine the butter and sugar together and blend thoroughly until smooth and fluffy.
2. Add the eggs, flour and vanilla essence and whisk together.
3. Brew the ground coffee with an equal measure of hot water, add to the mixture and blend together before dividing equally between your two baking tins.
4. Using a spatula, gently smooth the mixture out to the edges so it is spread evenly and you are left with a nice, flat top.
5. Pop in the oven for 20-25 minutes. To ensure your cakes are cooked all the way through, spear the centre with a knife. If the cakes are nicely brown and the knife lifts out clean, they are done!
6. To make the buttercream, simply add the butter, icing sugar and cocoa into the bowl together and gently combine until the mixture is silky and rich in colour. If you need to loosen the mixture, add a drop of warm water or milk and whisk again.
7. Once the cakes are completely cool, spread the buttercream evenly all over the top of one of the cakes, and then gently lift and sandwich the other one on top. If you are feeling particularly fancy, decorate the top with piped swirls and malteasers.
8. Slice and enjoy with a cup of tea and fresh raspberries.

IMG_0295
My Coffee Mocha Cake

Do let me know if you are going to bake this yourself, I would love to hear your thoughts. :)
View Post

Sunday, 6 November 2011

cake glorious cake


As a little sideline enterprise, I find myself baking bespoke cakes for special occasions, which has only ensued from word of mouth through my family and work friends. Last week I was asked to create an indulgent chocolate cake for a lady's retirement in my office. Excited about the prospect ahead, I set to work researching and preparing for the chocolatey task before me. I wanted to photograph the creation of this cake step by step, but thought it was more sensible to concentrate of my flour sifting rather than my camera focus. However I will detail the simple steps taken if you wished to recreate this gigantic ganache-covered cake yourself, which I think is quite reminiscent of the cake that Bruce Bogtrotter triumphantly devoured in Matilda!

The cake is two tiered, so you will need to repeat this recipe twice so you are left with two round cakes of the same sized, so you can sandwich them one on top of the other.

For the sponge;
10oz butter, 10oz caster sugar
5 free range eggs, 10oz self raising flour
Large tablespoon of cocoa powder

Whizz together the butter and sugar until you have a light, fluffy creamed consistency. Add in the eggs, flour and cocoa and mix together again until all the ingredients are combined. Do not over-whisk the mixture otherwise it won't rise as well. Spoon into a greased baking tin and pop in the over at 180c for 40+ minutes. Every oven is different and all cakes will cook at varying rates so just keep an eye on it and skewer the middle to check all the mixture is cooked. When the skewer emerges clean, you know the cake is done! (repeat again to get your second cake)
Let the cakes cool completely before you add the ganache filling.


Ganache can instil mild panic amongst bakers, but it really isn't anything to be afraid of. Ganache is simply the combination of good quality chocolate and double cream, which creates a decadent, glossy and pliable coating for cakes. Ganache is the Rolls Royce of cake coverings and is far superior, and yummier, than buttercream.

To make the ganache;
350g good quality dark chocolate, 350ml double (pouring) cream

Break up the chocolate into a bowl and add in the cream. Place the bowl over a saucepan of simmering water and stir the chocolate and cream together until all the chocolate is melted and you have a sleek, rich mixture. It is so important you don't let the cream boil otherwise the ganache will split and be ruined. To begin with the ganache will be very loose and runny but as it cools, it changes state and will become firmer and then eventually will set completely. You can pop the ganache in the fridge or just leave it out to cool, until it is a stable consistency. You want it loose enough to roll off a spoon but firm enough to hold its shape otherwise it will just drip off the cake.

Layer the ganache all over one of the cakes and then gently place the second cake on top, pushing down firmly so they are securely sandwiched together. Don't worry if any ganache comes out the sides as you will be covering the whole cake with the ganache as well. With the remaining ganache, simply spoon it all over the top of your cake and with a palette knife, work it towards the edges. It will then roll down the sides of your cake and you can smooth it around with the palette knife. Continue to work the ganache over and around the cake until it is completely covered and you are left with a smooth, even finish.

For the decorations;
The next stage calls upon your artistic flair and there is no limit to what you could do. I used rolled icing and letter cutters to write the message on top and then prettified the edges on my cake my adding white buttons. You could make chocolate curls, add a splash of colour with smarties or create a fancy finish with some raspberries and berries.

The cake was presented to Jo on Friday and was so thrilled that she liked it and it went down a treat in my office. I luckily managed to scavenge myself a small slither before it was all scoffed and it was rather tasty...if I do say so myself!
x
View Post

Sunday, 16 October 2011

the cherry on top


Baking is such a simple pleasure of mine, but it has been far too long since I baked some sweet delights. Over the past few weeks I have been consumed by The Great British Bake Off with utmost glee and hungriness, and it made me determined to done my Cath Kidston apron again and get back into the kitchen. Mary Berry is pretty much my baking idol - she makes everything look so delectable, with the gentleness of touches, and seems to just love the comfort of home baking. Her elegant Battenburg looks like a dream.
Rob, knowing my adoration for Mary Berry and all things sweet and baked, bought me the 'How to Bake' book, which I have pretty much embraced as my baking bible. It has all the recipes featured on the shows, some simple, others a tad more technical. I have devoured it from cover to cover and wanted to give one of the recipes a go today.
I therefore present you with my Cherry Bakewell Cupcakes.

Ingredients: (makes 12)
150g unsalted butter, 150g caster sugar, 100g self-raising flour
3 eggs, 1/2 teaspoon baking powder, 60g ground almonds
1 tablespoon milk, raspberry jam
250g icing sugar, lemon juice, glacé cherries
Preheat oven to 190c/375f/gas mark 5

Firstly make sure you butter is nice and soft and then beat it in the food mixer until it is fluffy and creamy. Next add in the sugar, flour, baking powder, ground almonds, milk and eggs and combine together until you have a light, smooth mixture.
Place your cupcake cases in the baking tray and evenly divide the mixture between them, smoothing the mixture flat with your fingertip. Bake for 15-20 minutes until golden brown and firm to the touch. You can test your cupcakes are baked completely by skewing the middle. The skewer will come out clean once the cakes are done.

Let your cupcakes cool completely and then take an apple corer and gently remove the middle of the cakes, about two-thirds of the way down. The soft sponge centres make a perfect appetiser whilst you finish off making your cupcakes! 


Take 4 tablespoons or so of the jam and stir it separately in a bowl. This will make the mixture looser so it runs sweetly into the holes. Use a teaspoon to fill the centres up almost to the top, but be careful not to overfill them otherwise the jam will mix in with the icing.

To make up the icing, sift the icing sugar into a bowl and add the lemon juice to make a thick, yet spoonable consistency. You could forego the lemon and just make the icing plain by adding small measures of water until the desired thickness is reached. Dollop the icing into the centre of the cupcakes and gently ease the mixture to the sides until the whole surface is coated. Let the icing harden for a few minutes before popping on the crowning jewel, the glacé cherry.


And there we have it, a perfect Sunday afternoon treat; quick, easy yet wonderfully indulgent.

Just as a little side note, it is the final few hours to place your votes in the Cosmo Blog Awards. I am honoured to be nominated in the Established Beauty Blog category. If you did wish to vote for Pearls & Poodles then you can just click here, enter your email address and then go to the Established Beauty Blog category. That's where you'll find me. 
Thank you to anyone who does vote for me, but as cliched as it may sound, I am just chuffed to be nominated and nestled amongst many other super duper blogs. The results are going to be announced at an evening do in London on October 26th, so I had better find me a dapper dress for the occasion.
x
View Post

Monday, 23 May 2011

making macaroons


Move over cupcakes, it would seem another colourful, sugary delight is coming back into food fashion and is becoming the sought after treat, perfect with tea or boxed and ribboned making a wonderful gift.
You cannot mention macaroons without being transported to Paris. Ladurée, the home of luxury cakes and pastries, made these little treats infamous, colouring them with the most endearing pastel shades and flavouring them with delicate scents such as rosewater and lavender.
You will pay an arm and a leg for a beautifully-packaged assortment of macaroons, so I thought I would don my apron and give them a whirl myself. Making macaroons, in essence, is very simple, comprising of only four basic ingredients. The key for perfect macaroons is precision, patience and practice...


Recipe:
175g icing sugar
125g ground almonds
3 free-range egg whites
75g caster sugar
(will make 16-18 macaroons)


Preheat your oven to 60°C/fan140°C/gas 3


1. Whisk the egg whites, with a pinch of salt, until they have formed soft peaks. Gradually add the caster sugar, making the mixture thick and glossy.
2. If you wish to create colourful macaroons, add your food colouring at this stage and whisk until you have achieved your desired shade.


3. In a food processor, whizz together the ground almonds and the icing sugar into a fine powder.
4. Add half the almond/icing sugar mix into the meringue mixture and fold in gently with a spatula. Once completely combined, fold in the remaining half. The mixture should be glossy and fall off the spatula with a ribbon-like consistency.


5. Line two trays with baking paper.
6. Fill a piping bag with the mixture and  pipe small rounds, about 3cm across.
7. Leave the macaroons to stand for 10-15 at room temperature until they form a slight skin.
8. Place in the oven for 15 minutes but keep your eye on them. My ones only took 8 minutes so it can vary and you don't want the tops to burn or discolour. You want your macaroons to have a lovely glossy domed top and a beautifully bubbly base. Leave to cool before removing gently.


For the filling, the sky is your limit and you can be as adventurous as you like. The typical filling is a standard buttercream (1 part butter, 2 part icing sugar) but you could try a luxurious chocolate ganache, lemon curd or jam. Or simply colour or flavour your buttercream to add a bit of je ne sais quoi! Decorate with chopped nuts, rose petals or desiccated coconut. Macaroons are the perfect chance to let your creative juices flow.


Before you add your sandwich filling, pair up your macaroon halves so both are a similar shape and size. The perfect macaroon should be crispy on the outside and delectably soft and sweet on the inside.
For the pink and yellow macaroons, I filled them with buttercream. For the white macaroons, I added spoonfuls of Nutella to the buttercream mix to create a chocolatey contrast.


Eat your heart out Ladurée! ;)
x
View Post
Blogger Templates By pipdig